Commit Changes in your Repository using GitHub App
Here's the step-by-step guide on how to save or commit your changes in your local repository and publish it in Github
Commit changes in local repository
-
Go to your local repository and make some changes.
In this case, we will open the local repository we created in 👉 Create and Publish Repository using GitHub App
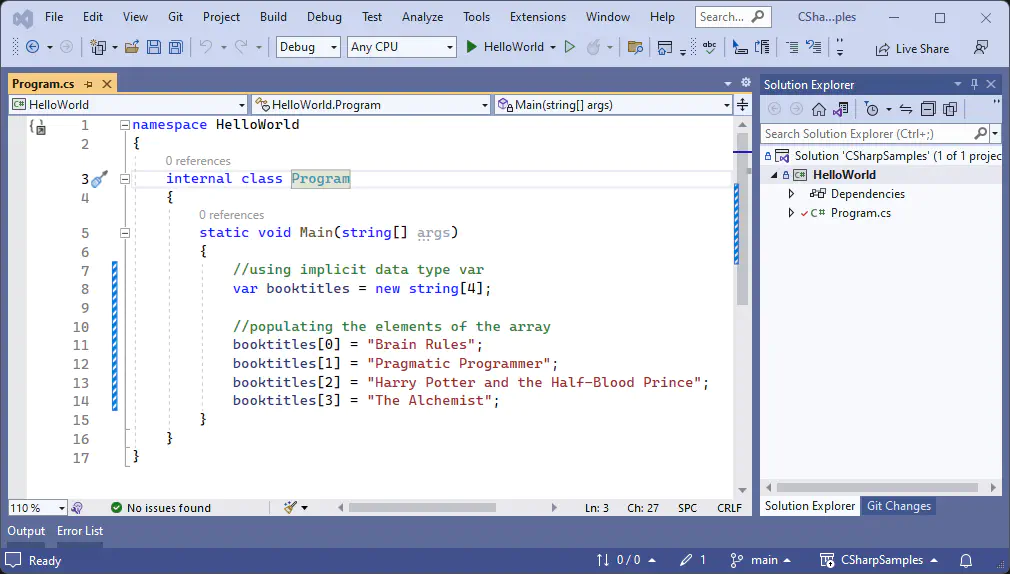
Make some changes to the source code in this repository. (Ensure to hit “Save” when you made the changes) Example:

-
The changes will be automatically detected by Github Desktop App and will be shown as like this:

-
Commit these changes in your local repository.
Committing changes in the local repository means we are “saving” the changes in the tracker or in the history.
To commit changes, first describe what the changes are in lower part of the left-side pane then hit “Commit” button:

-
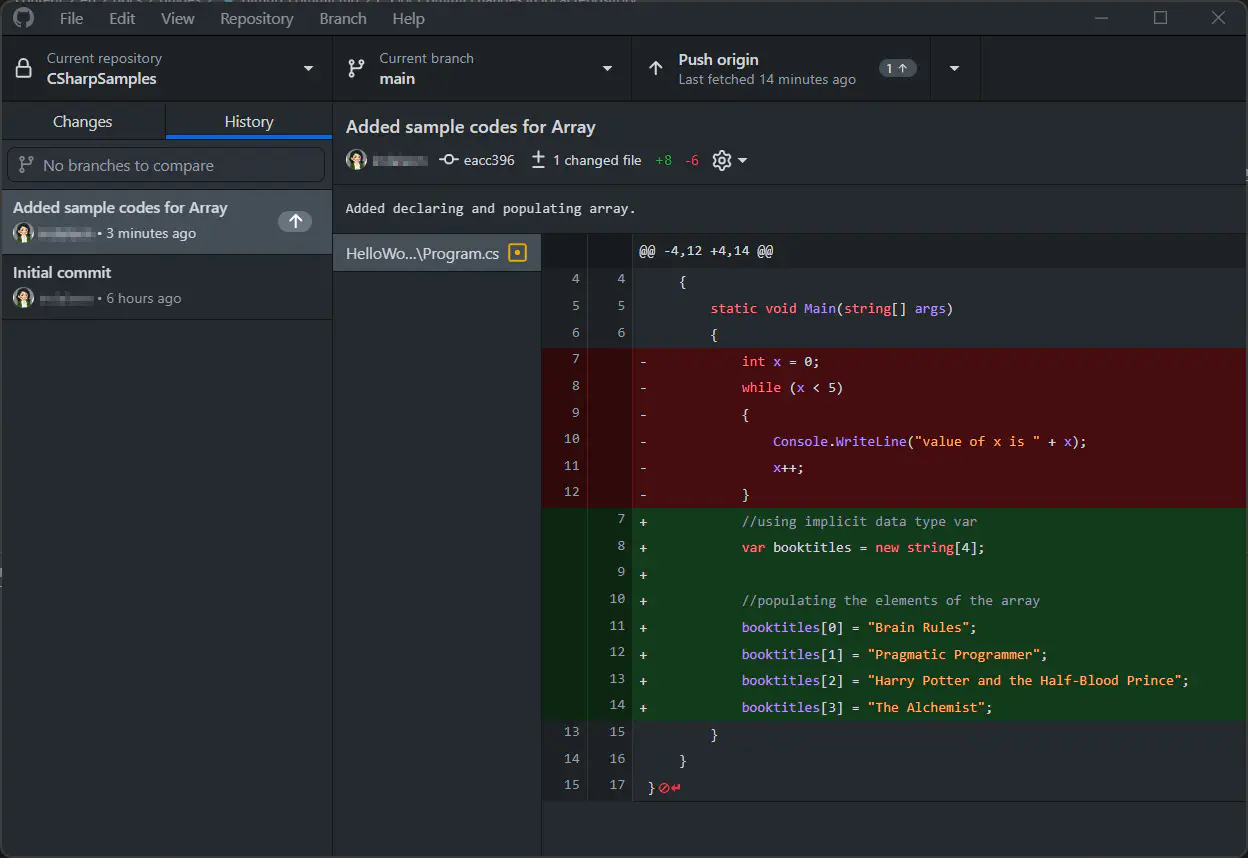
The committed changes can be seen in the “History” tab:

❗Committed changes in your local repository still lives in your local machine at this point. ❗
Pushing commits in Github
-
To make your commits available in your Github repository, click “Push origin”:

-
After pushing, go to the repository in Github website and you can see the commits there:

-
Navigate to the modified file, and can see your changes there:
