Create C# Console App using .NET CLI
Here's the step-by-step guide on how to create C# applications using .NET CLI and Notepad++
Overview
NOTE: below tutorial is only applicable to laptops and desktops with Windows as OS
In this tutorial, we are going to explore how to create C# applications without Visual Studio or VS Code.
Instead, we will use the following:
-
Source Code Editor (in our case, Notepad++)
…but you may use any other source code editors that you’re comfortable with.
Download Notepad++ here Notepad++ Download and install it on your machine.
-
.NET SDK
.NET CLI is included with the .NET SDK hence we need to download .NET SDK here - .NET SDK Download - in order to use the dotnet driver and commands to create and execute C# applications.
Install the .NET SDK in your machine.
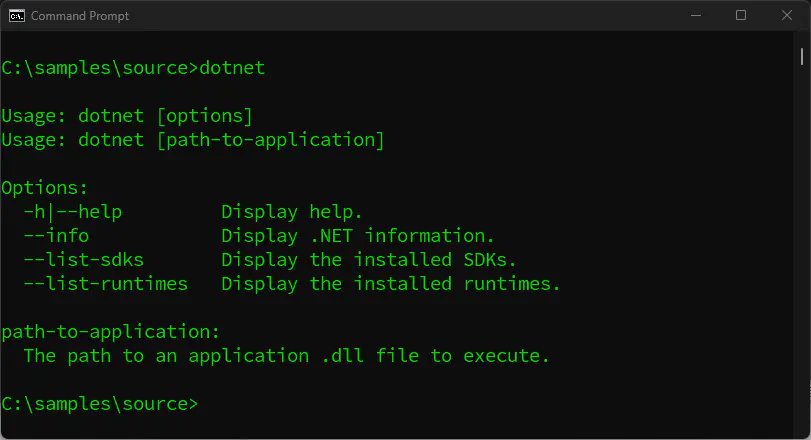
To check if you have .NET on your machine, open command prompt and run
dotnetcommand. You should see something like the below results:
Creating console application using .NET CLI
-
Open Command Prompt in Windows, (or go to windows and type
cmdthen Enter) -
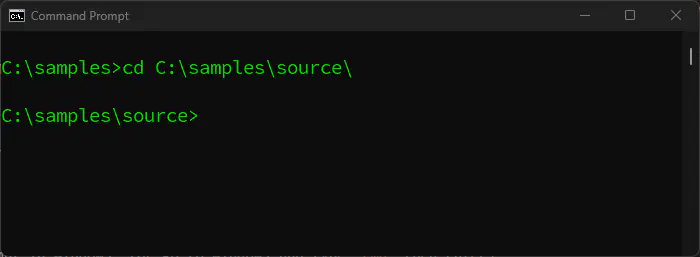
Navigate to the directory (folder path) where you want to save your C# source code by using the
cd <path of your folder>(change directory) command then “Enter”:cd c:\samples\source\
-
Type the following
dotnetcommand to create a new console project in the directory where you are in:dotnet new console -o HelloWorldCLI
Explaining the command:
dotnet new console- the dotnet command that means we are creating a “new” project of type “console”-o HelloWorldCLI- -o means the “output directory”, the word following is going to be the “folder name” or output folder of the new console application. This will also going to be the name of the C# Project or console application.
The project folder and the project itself will be created in the active directory indicated in the command prompt.
In this case the active directory is
C:\samples\source\thus the project folder HelloWorldCLI will be created in that directory and inside it are the C# Project contents:Project Folder

Contents of C# Project

-
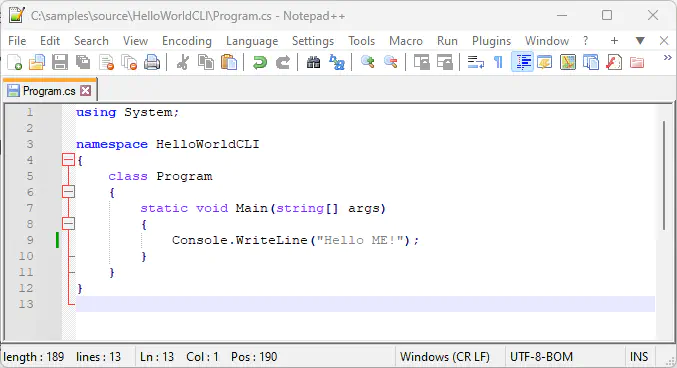
Check the code in the C# console application created by opening the
Program.csfile with Notepad++.Right-click the
Program.csfile then selectOpen with...then choose Notepad++.Below is the contents of
Program.csfile. The code inside the file displays “Hello World” in the console.
-
Run the code by doing the following commands:
Since the active directory in command prompt (cmd) is outside the created C# Project folder. Go inside the created C# Project folder by typing the command below and hit “Enter”:
cd .\HelloWorldCLIAfter that, the active directory in cmd is now the C# Project Folder (
C:\samples\sources\HelloWorldCLI):
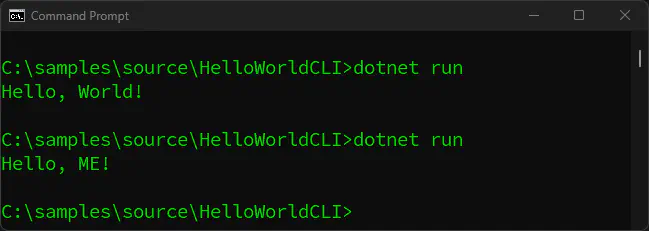
Run the project by typing this command then hit “Enter”:
dotnet runThe output is “Hello World”:

Update the C# Code
-
Make some changes in the code.
Open the
Program.csfile again in Notepad++. Change the “Hello World!" to “Hello ME!":
-
Save the updated file and type
dotnet runin the command prompt again and hit “Enter”:dotnet run
Watch out for❗
- watch out for running dotnet commands in the correct active directory.
- always check if you’re running the correct commands in the correct directory.
dotnet runwill return an error if you try to run it outside the C# project directory. To learn more about different commands to dodotnet runsee this link from Microsoft - dotnet run command